
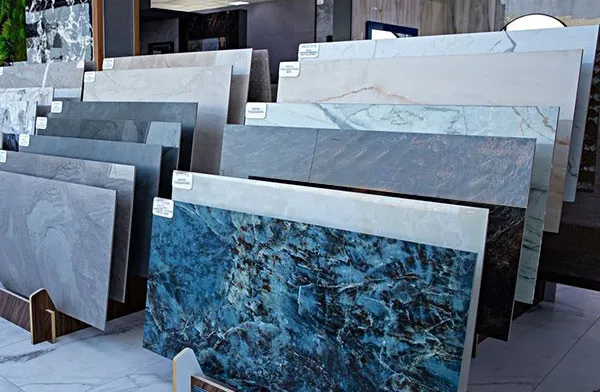
Tile & Cladding Systems
XXL / Slab Tile Installation System
Shows the S2 two-component adhesive, full contact and professional handling-and-levelling system for XXL and slab claddings.
System summary
- Project and surface check
- KR-8100 or KR-8600 + KR-8100-1
- full contact with back-buttering
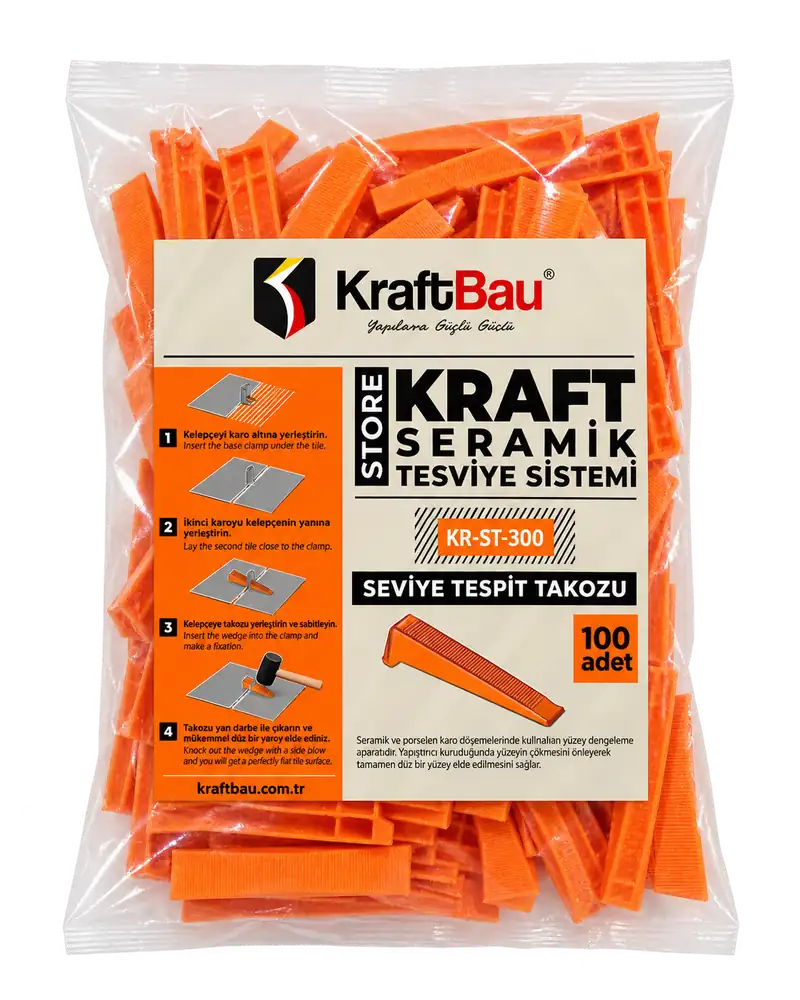
- professional handling and KR-ST levelling
- suitable grout.
Higher deformability for very large formats
XXL and slab claddings require expert installation due to their weight, low joint ratio and the transfer of substrate movement across a wide surface. KR-8100 or KR-8600 is used together with the shared KR-8100-1 component B to form an S2-class system.
System advantages
- Grey and white S2 adhesive system
- Full contact targeted through back-buttering
- Controlled installation with professional handling and levelling equipment
- Grout selection according to the area of use
Application
How does the system work?
Steps are listed in application order. For consumption, layer thickness and waiting times, refer to the products' current technical data sheets (TDS).
-
Step 1: Check the surface and the project
The substrate must be very flat, sound and load-bearing. Cladding weight, laying direction and movement joints must be planned before the application starts.
-
Step 2: Prepare the grey or white S2 system
Use KR-8100 for grey applications and KR-8600 for white applications; prepare the selected component A as a system with the shared KR-8100-1 component B.
-
Step 3: Achieve full contact with back-buttering
Apply the adhesive to both the substrate and the back of the tile using the appropriate method. Aim for contact that leaves no voids beneath the cladding.
-
Step 4: Handle and level professionally
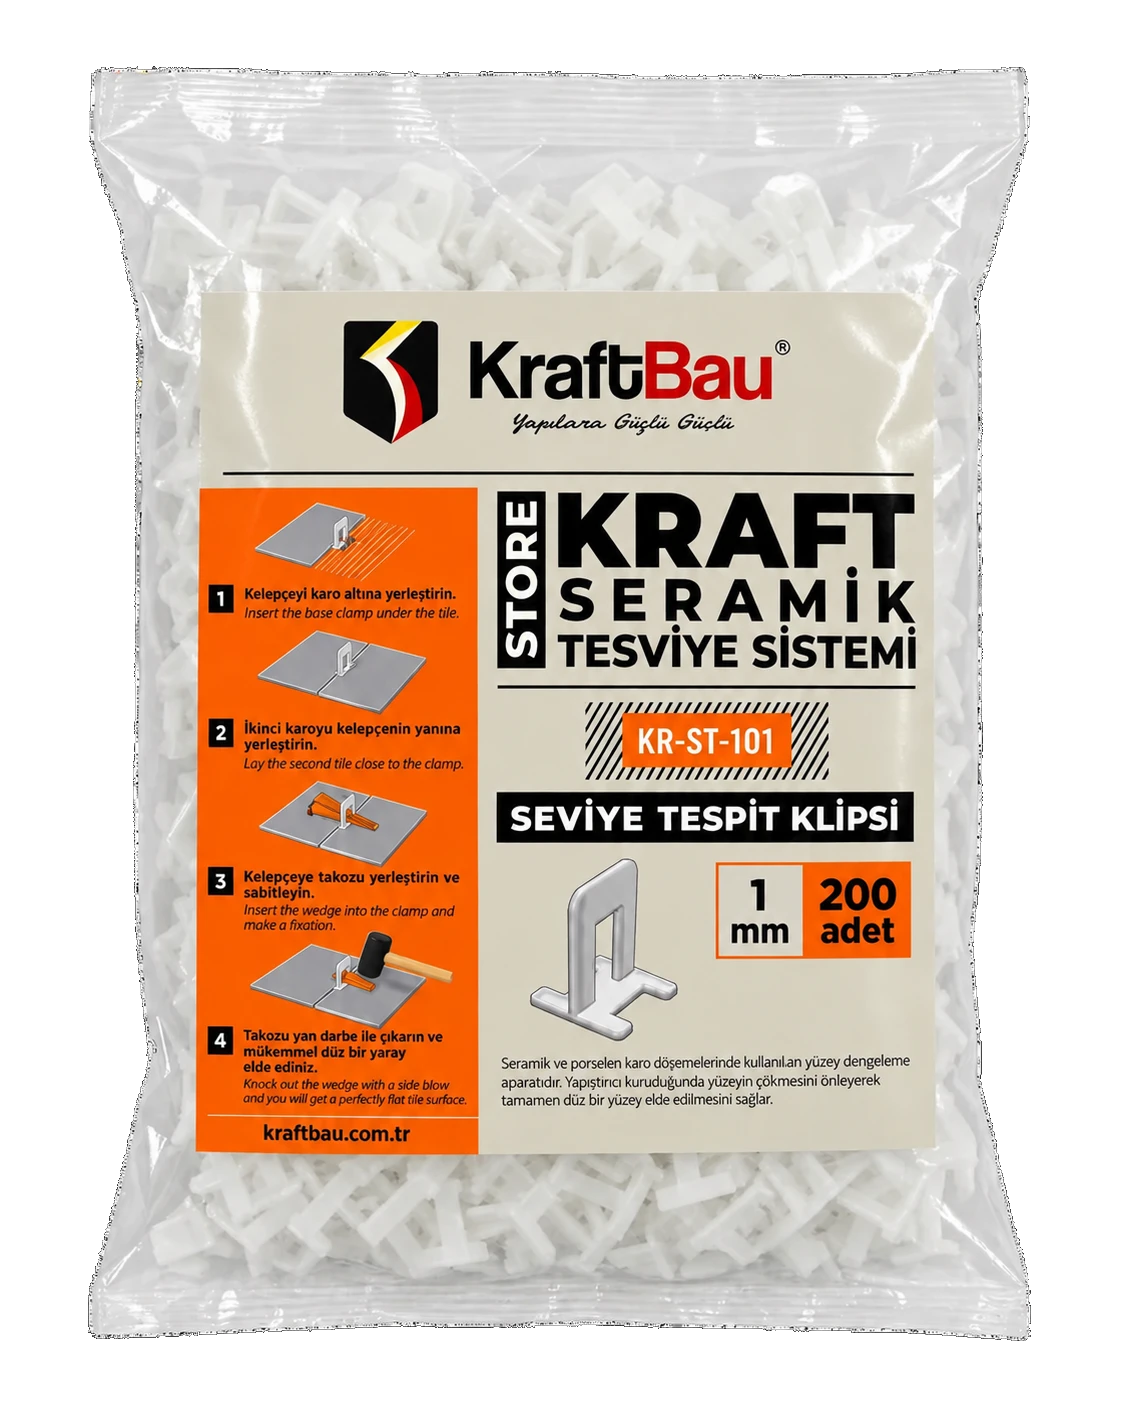
Place the cladding with suitable handling equipment; control the surface level with KR-ST clips and wedges.
-
Step 5: Apply the grout suited to the area of use
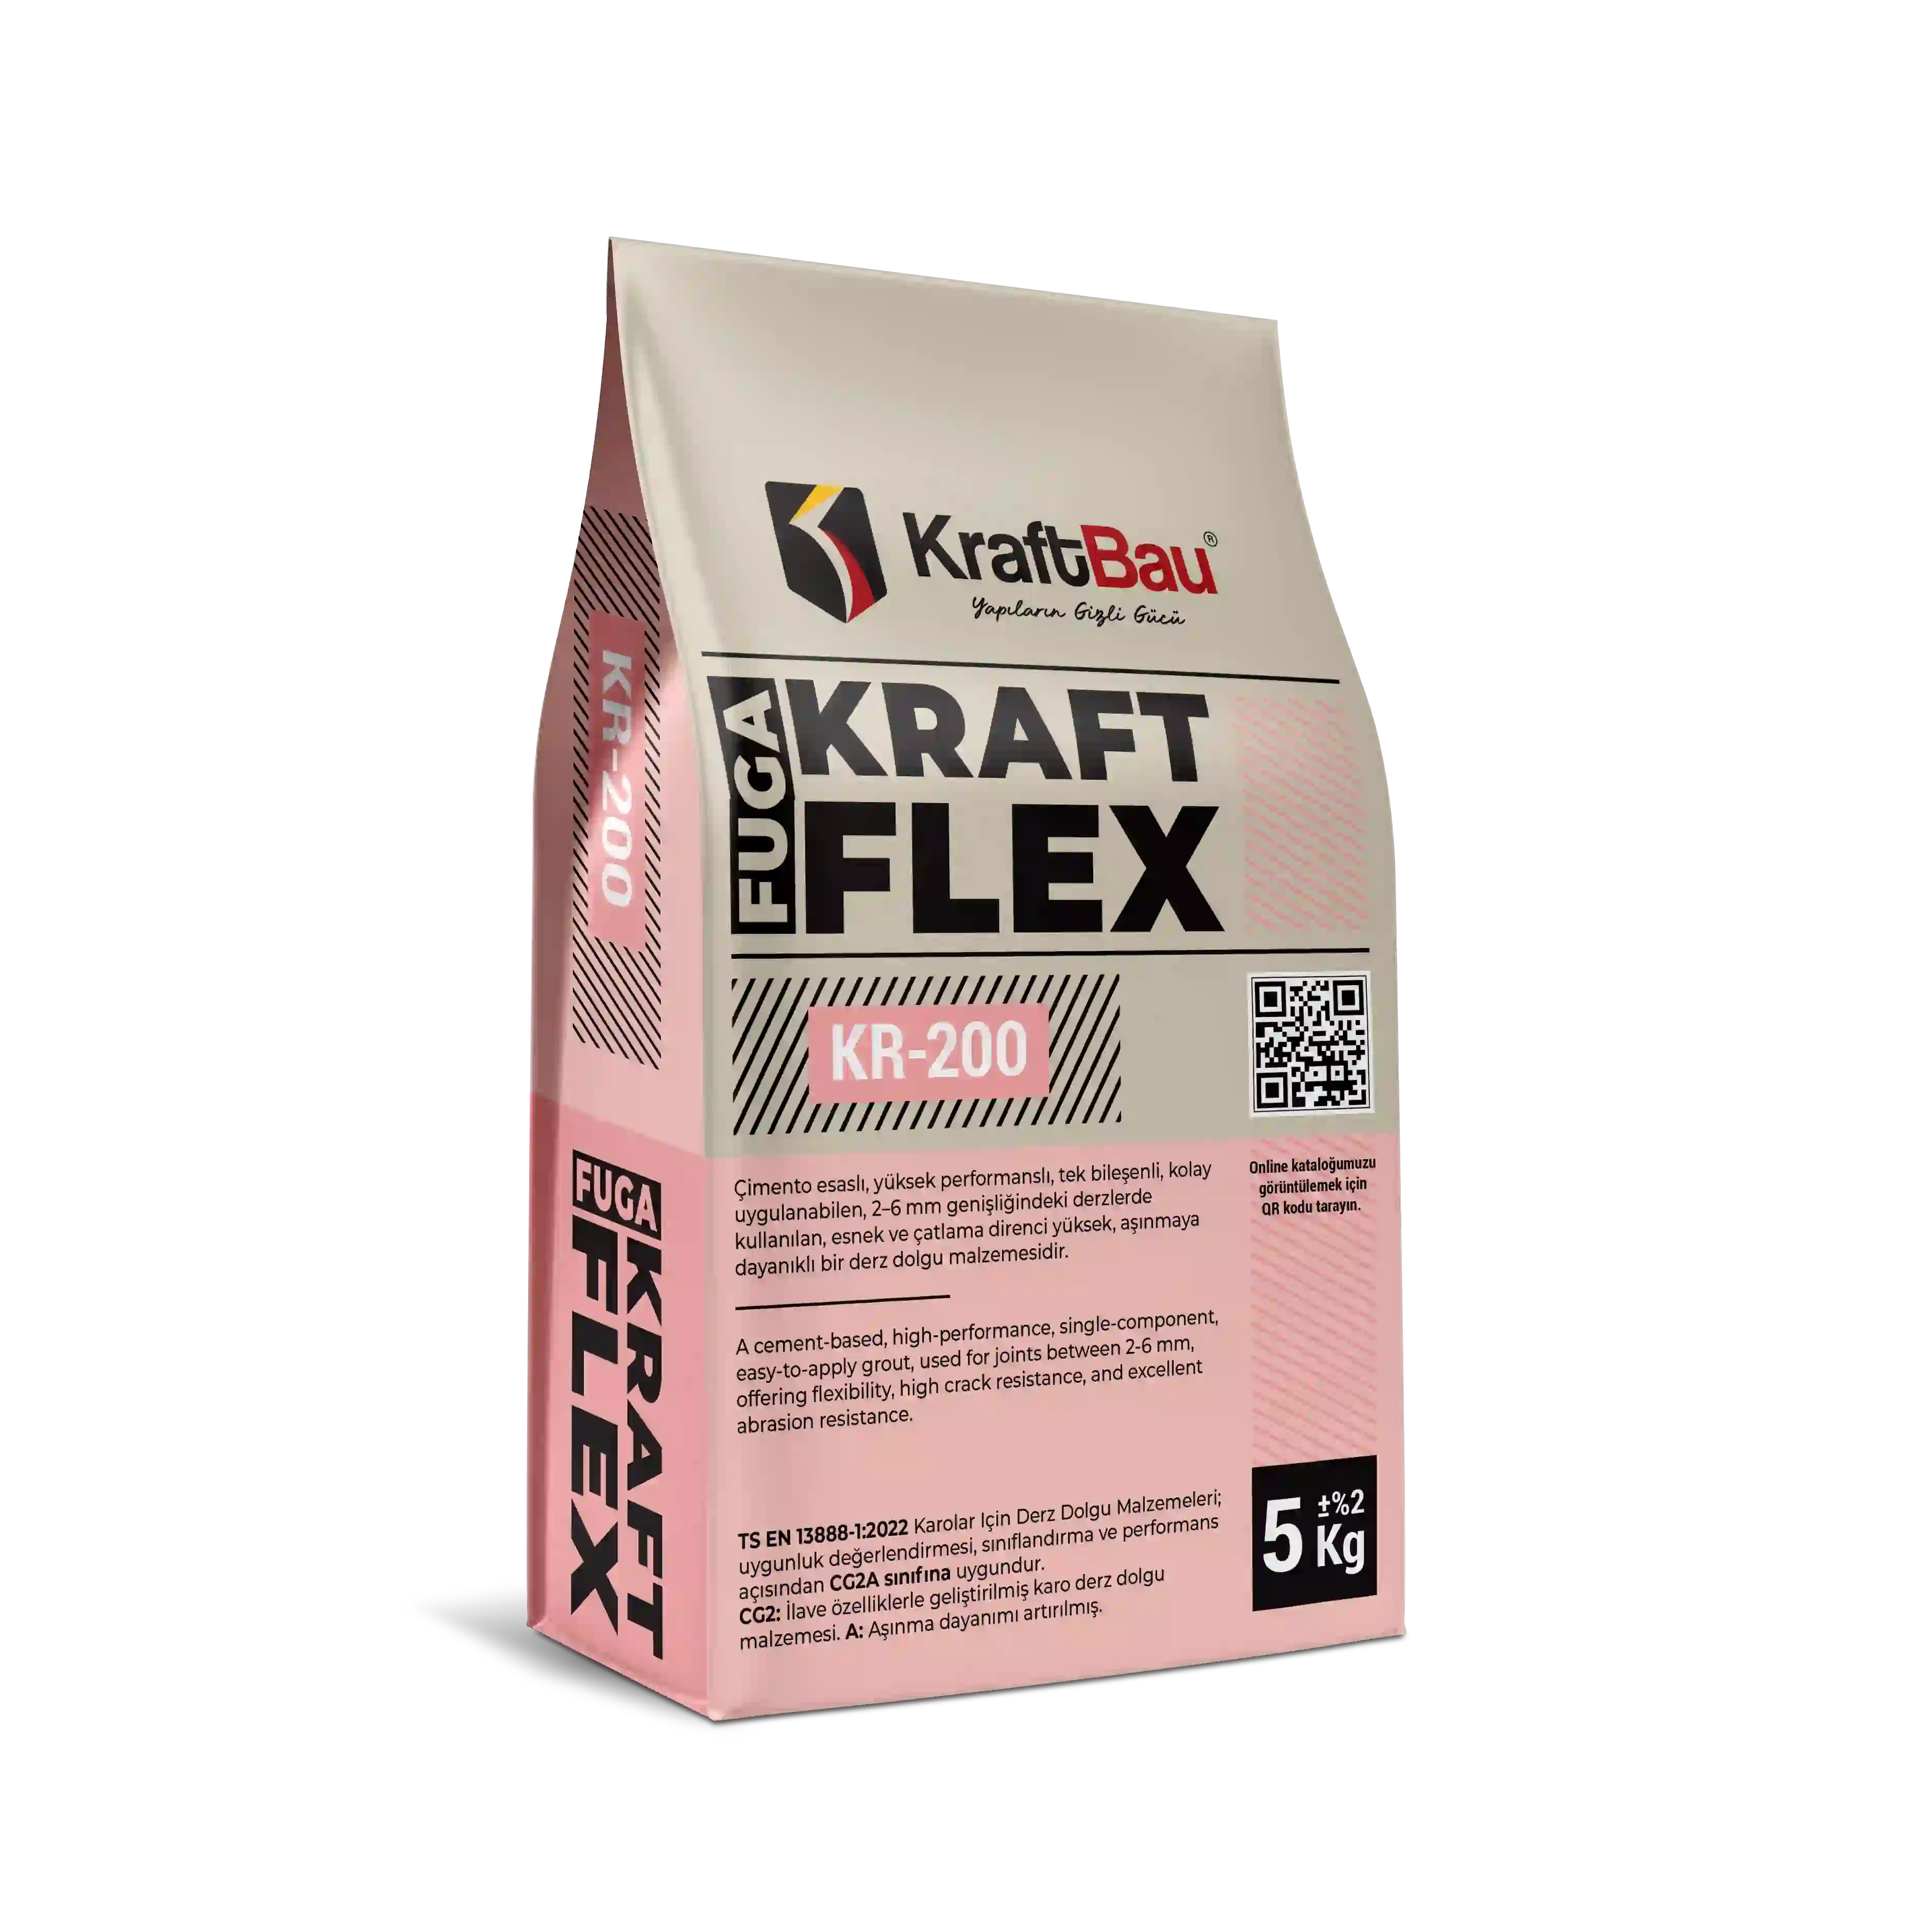
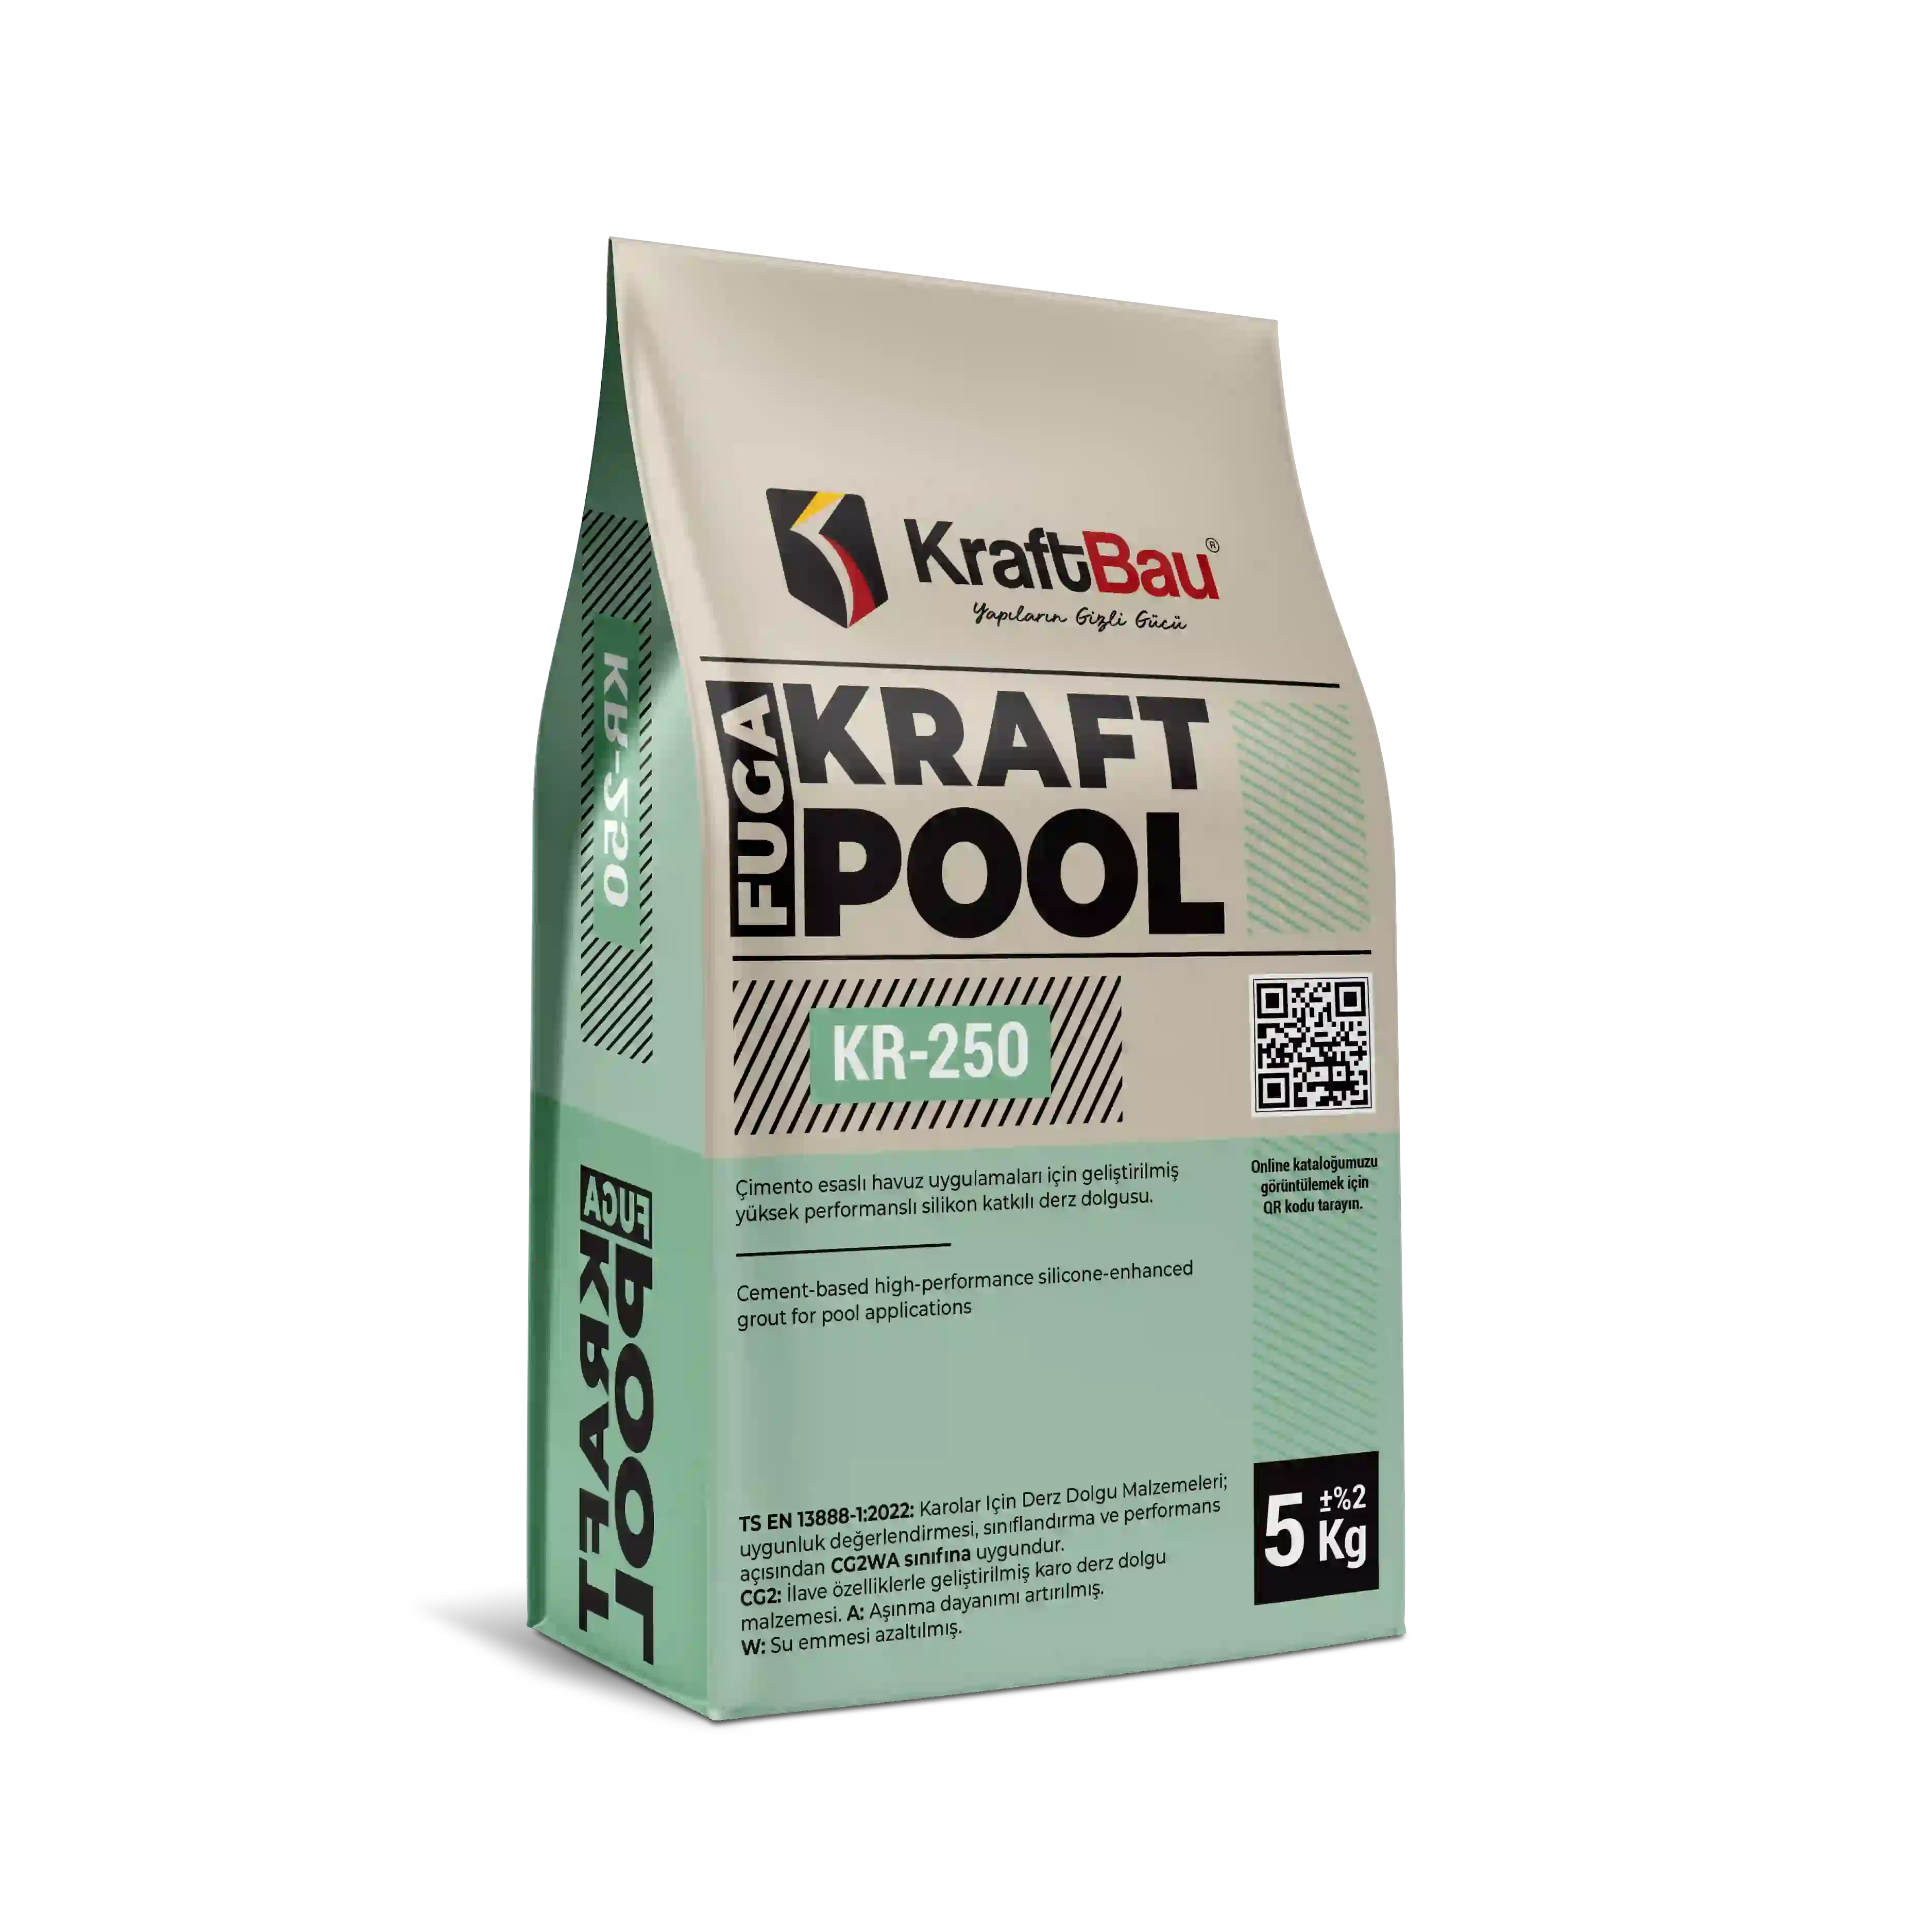
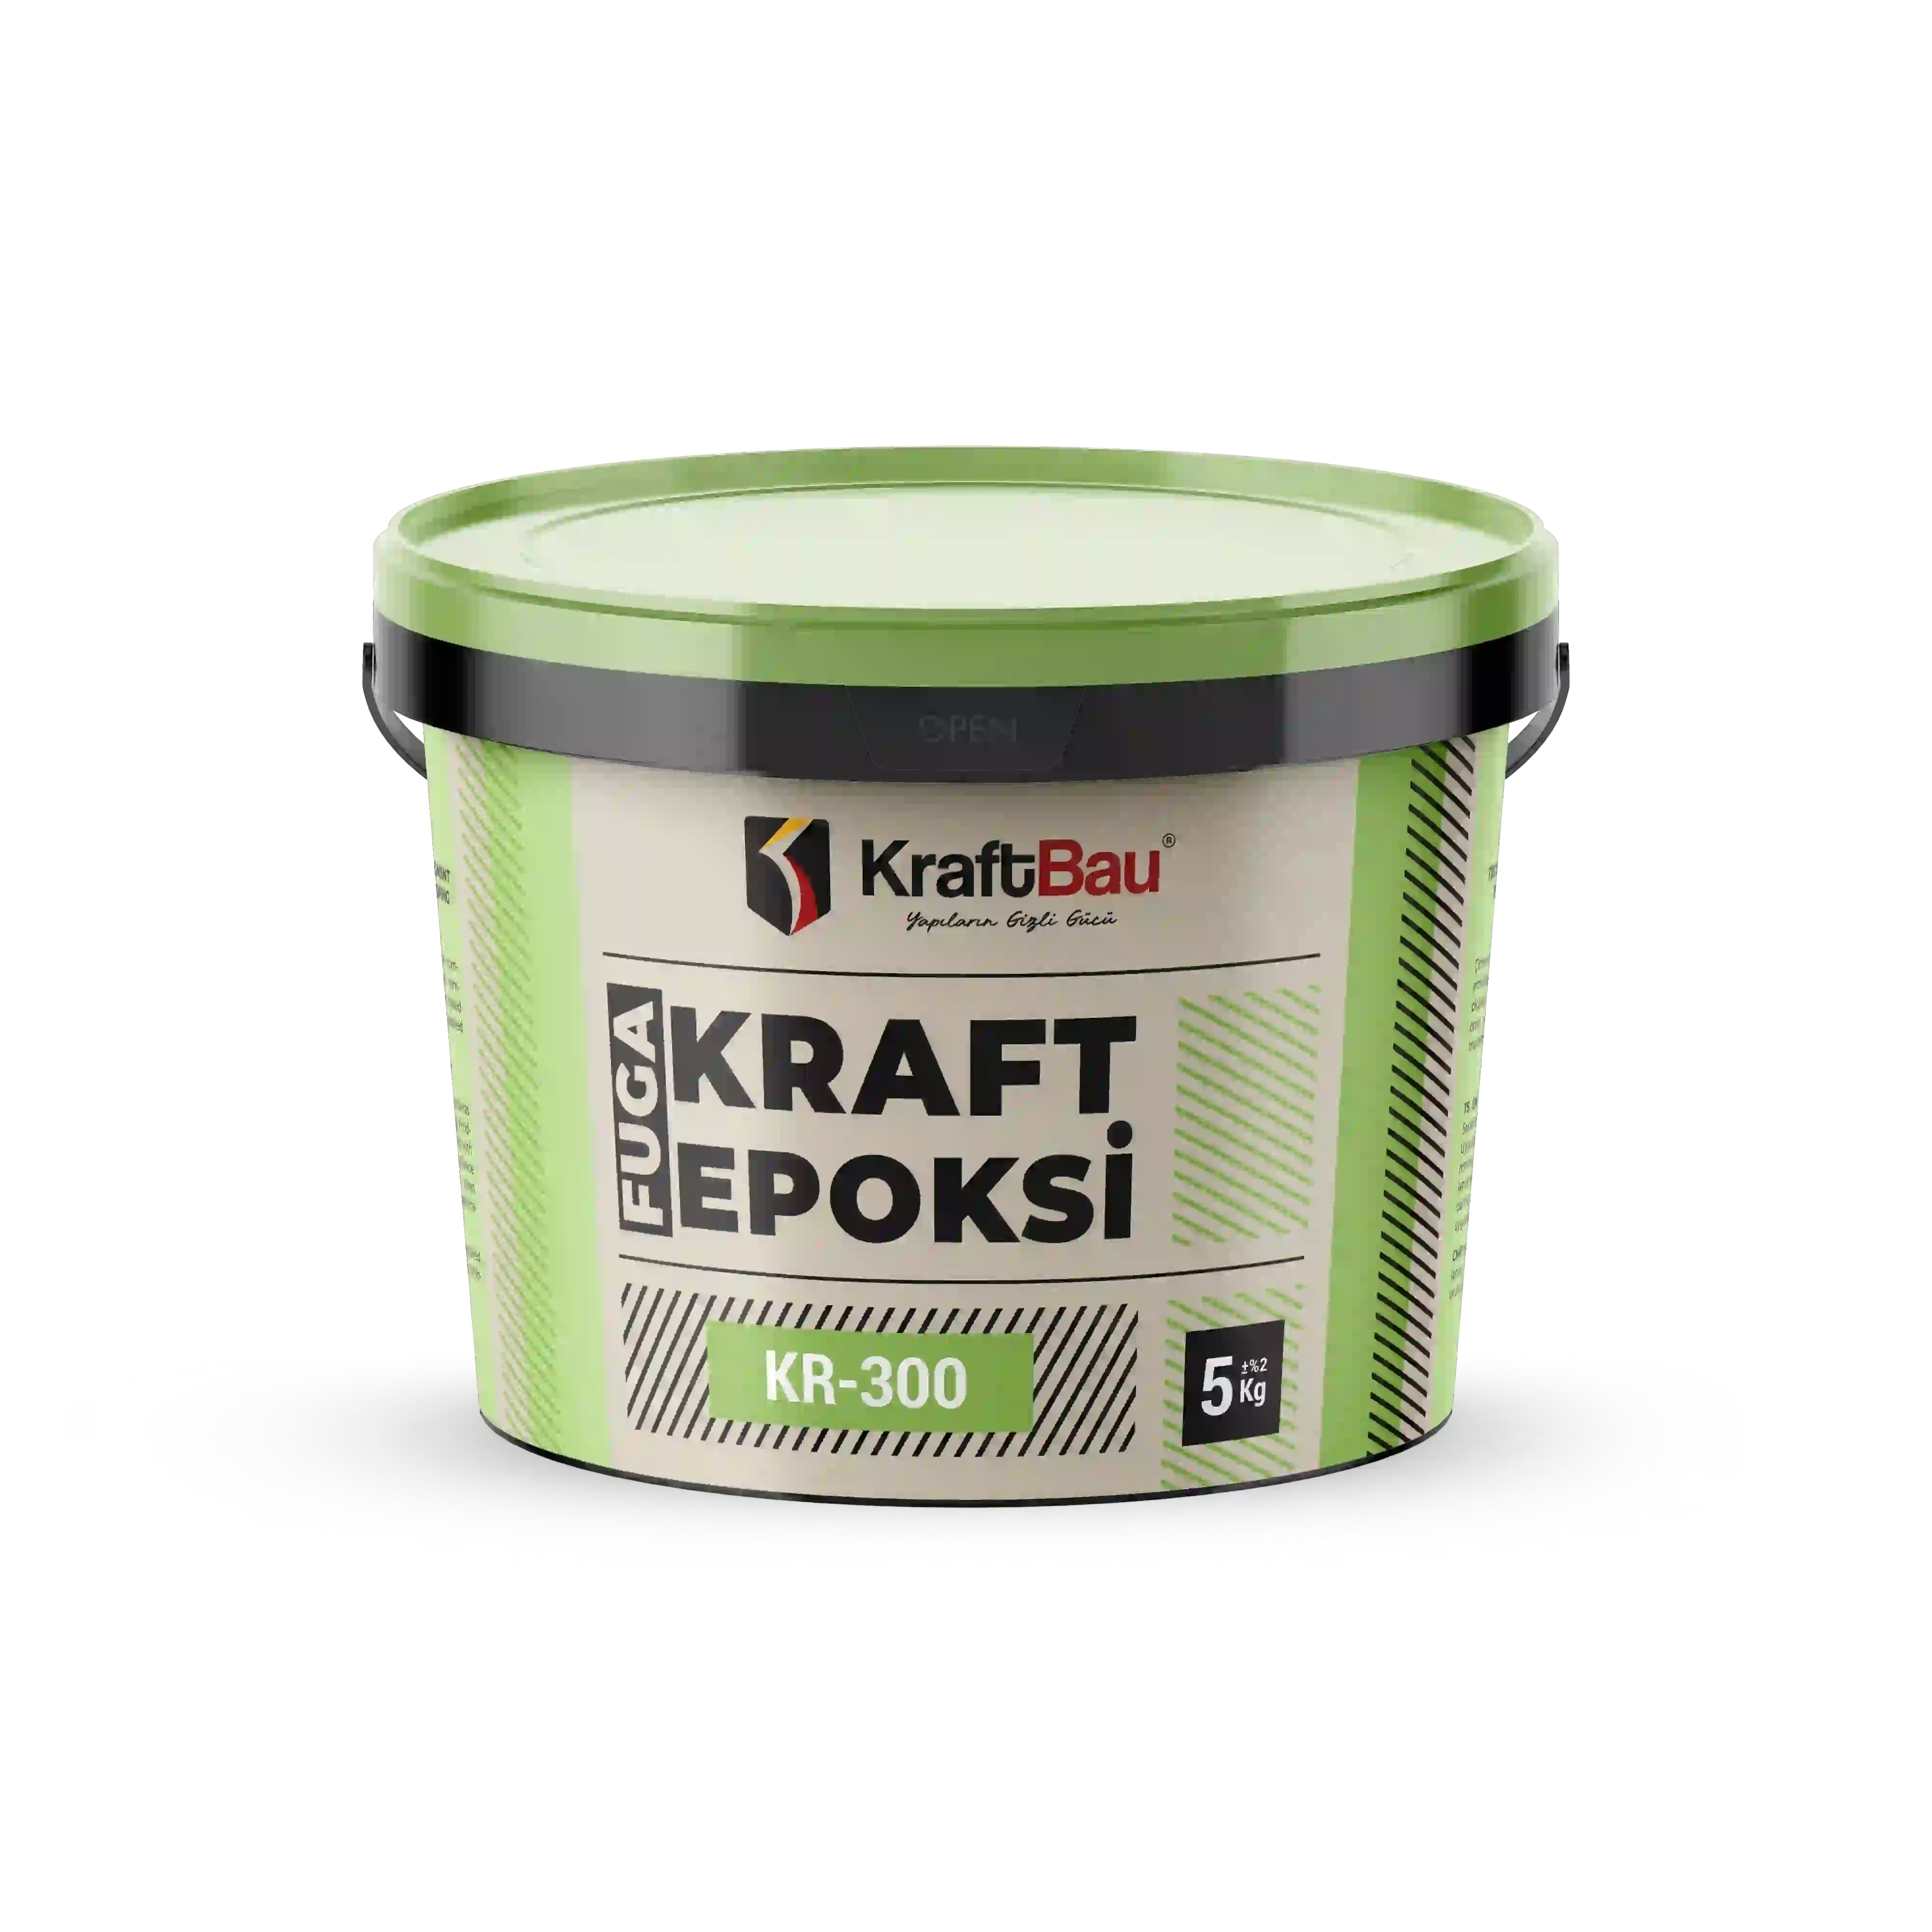
Use KR-200 in dry areas, KR-250 in wet or outdoor areas and KR-300 under technical or high chemical loads.
Products
Recommended KraftBau products
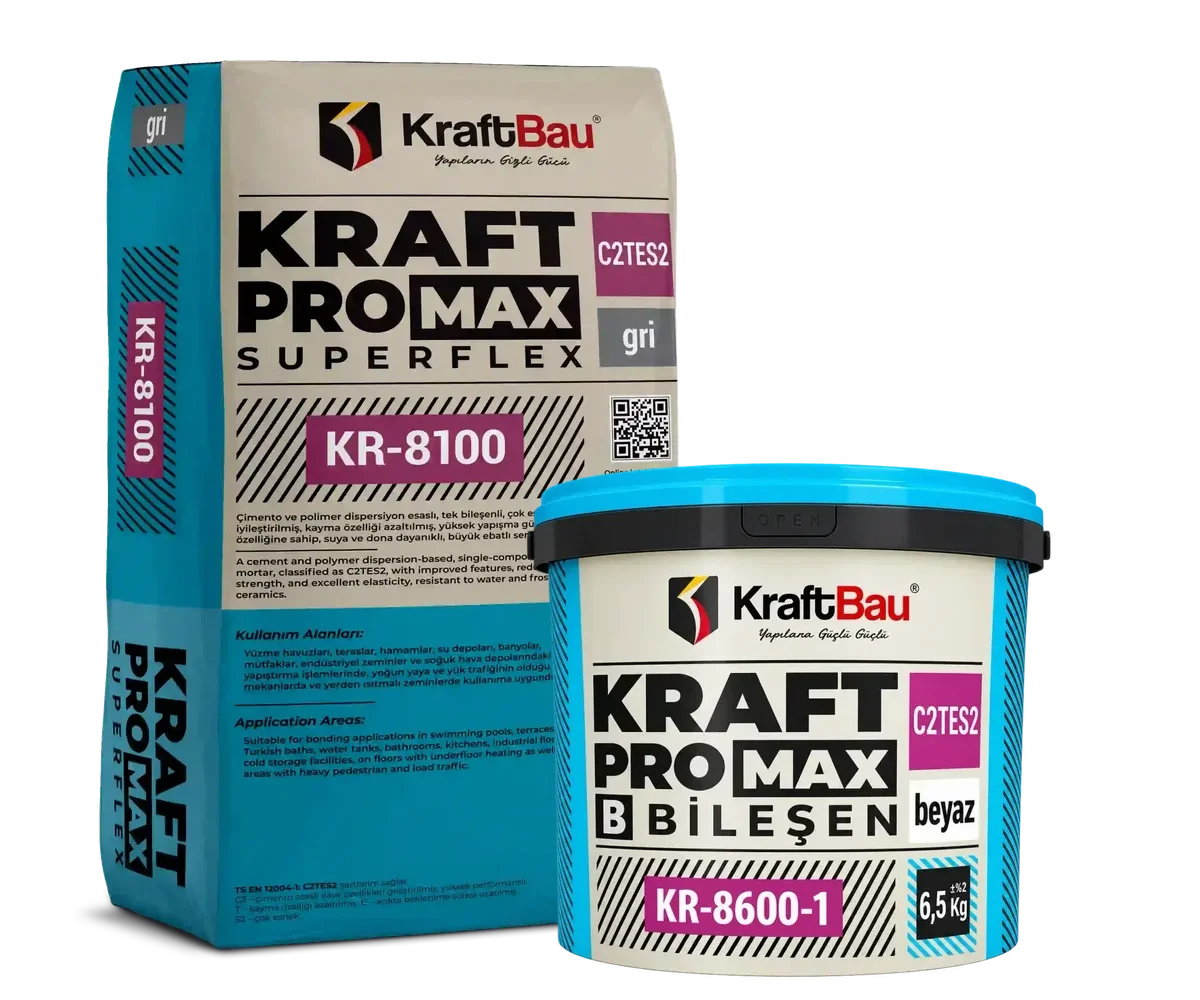
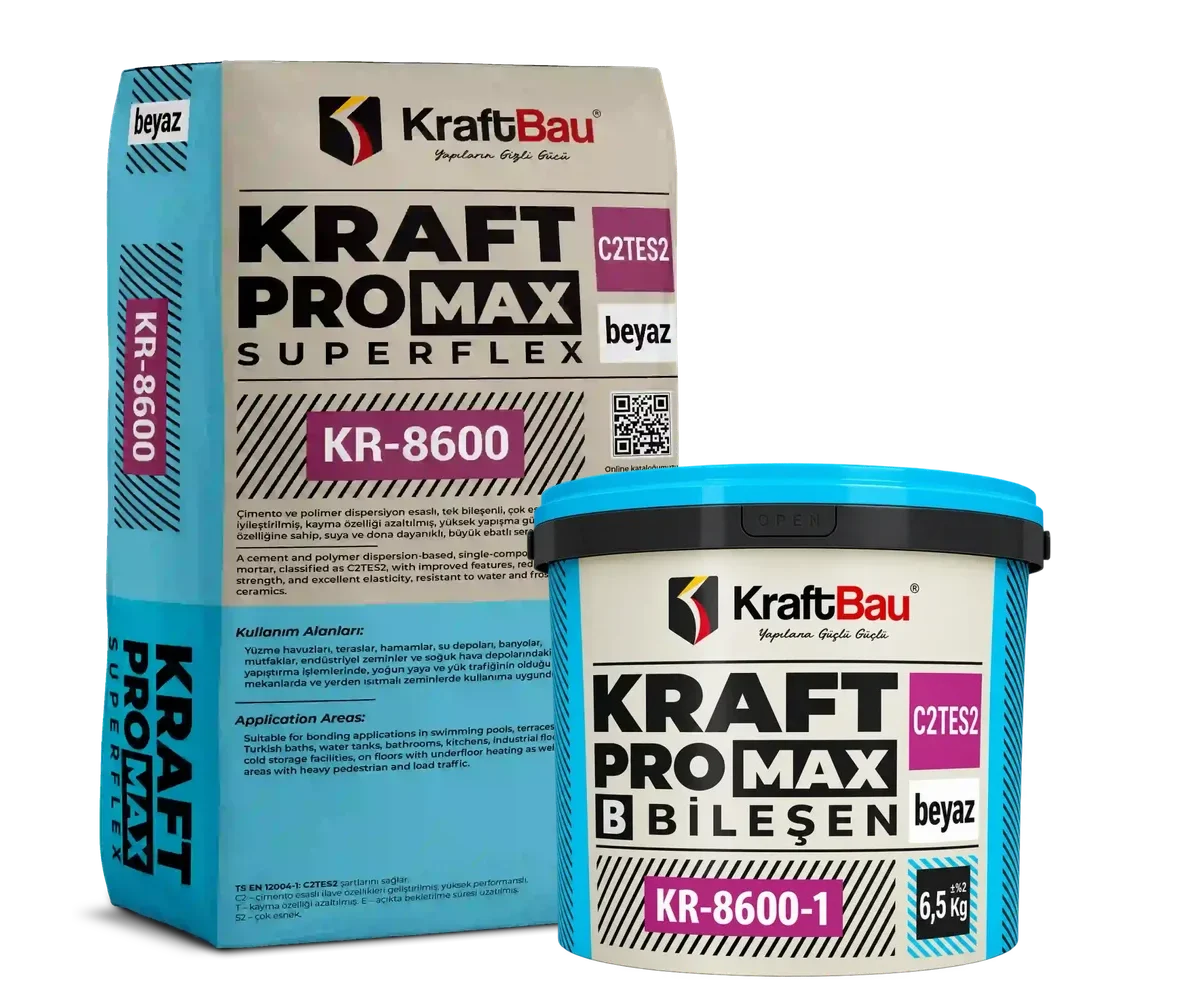
The grey system is built with the KR-8100 component A and the white system with KR-8600; in both options the shared component B is KR-8100-1. KR-ST levelling products and, depending on the area of use, KR-200, KR-250 or KR-300 grout complete the system.
GREY S2 SYSTEM
WHITE S2 SYSTEM
SHARED COMPONENT B
ACCESSORIES
GROUT
Related content
Explore other solutions or application guides linked to this system.
Clarify your XXL cladding system with the technical team
Share the tile format, surface, area of use and colour sensitivity; let us determine the right grey or white S2 system.