Check the substrate
The substrate must be flat, clean, sound, dry and load-bearing. Loose parts are removed, and voids and defects are made good with a suitable repair system. Priming is not an automatic step; it is chosen according to absorbency and substrate type. On low-absorbency substrates such as old tiles, a separate renovation system is applied.
Choose and prepare the adhesive
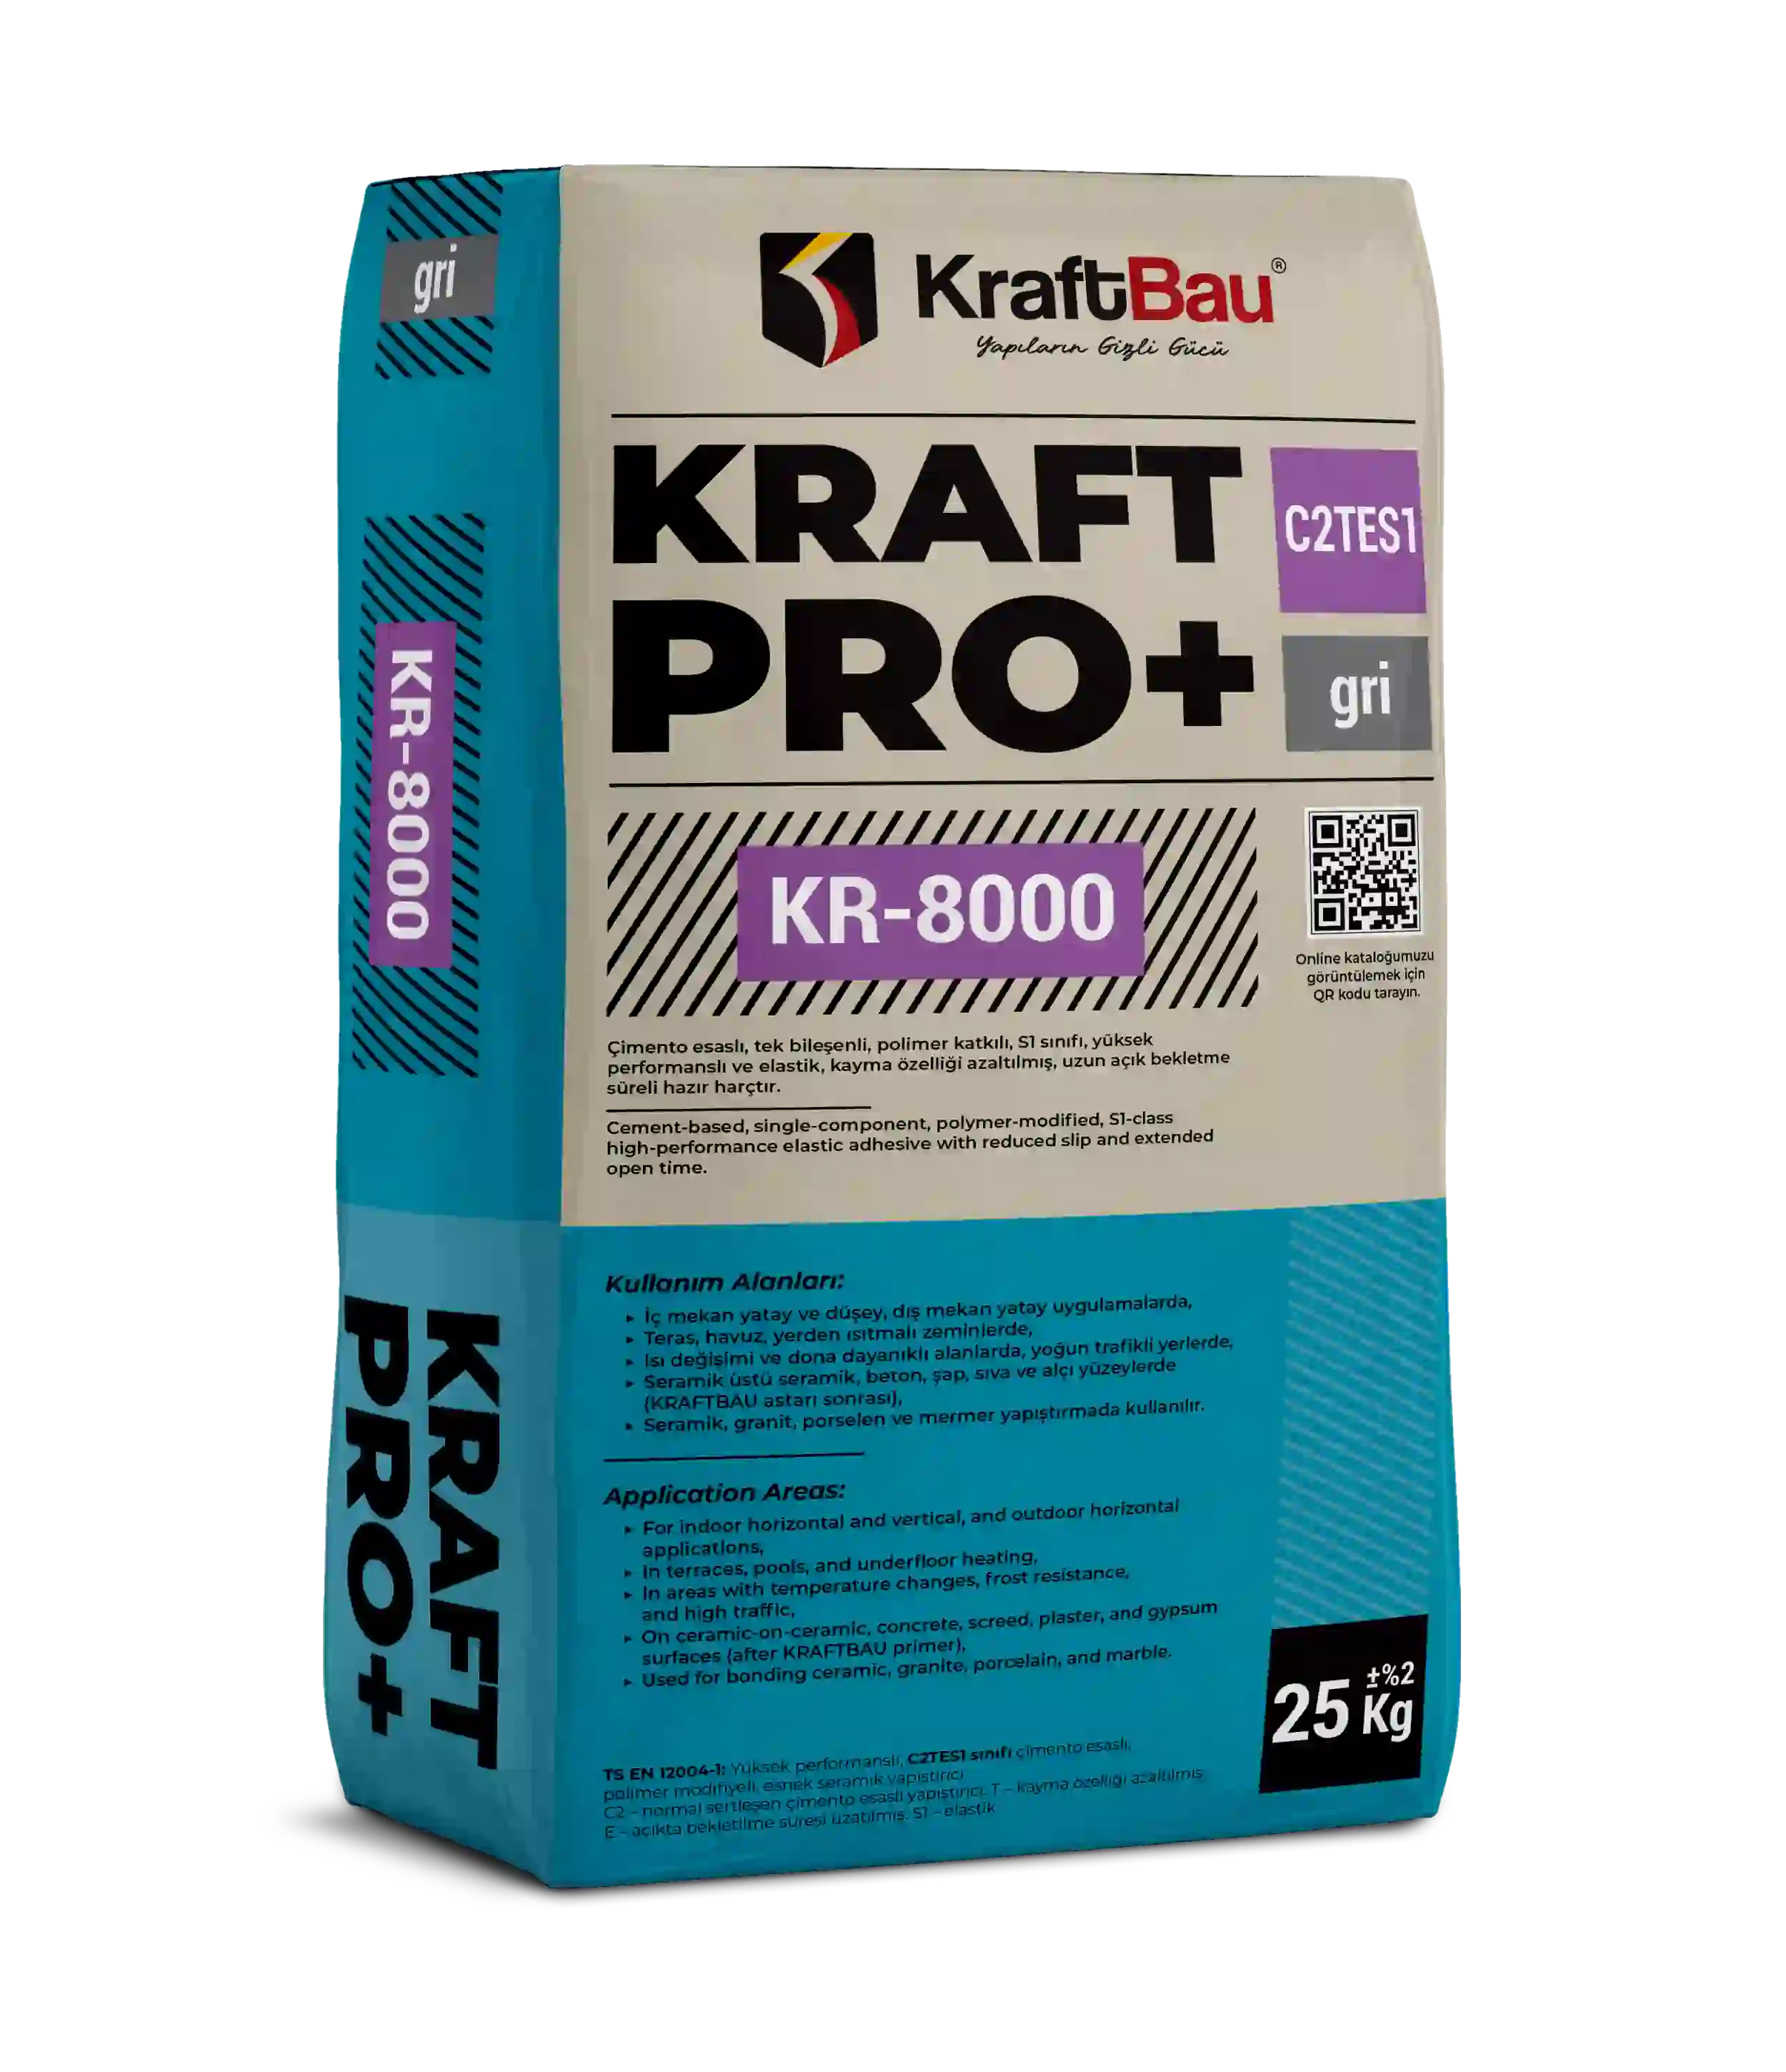
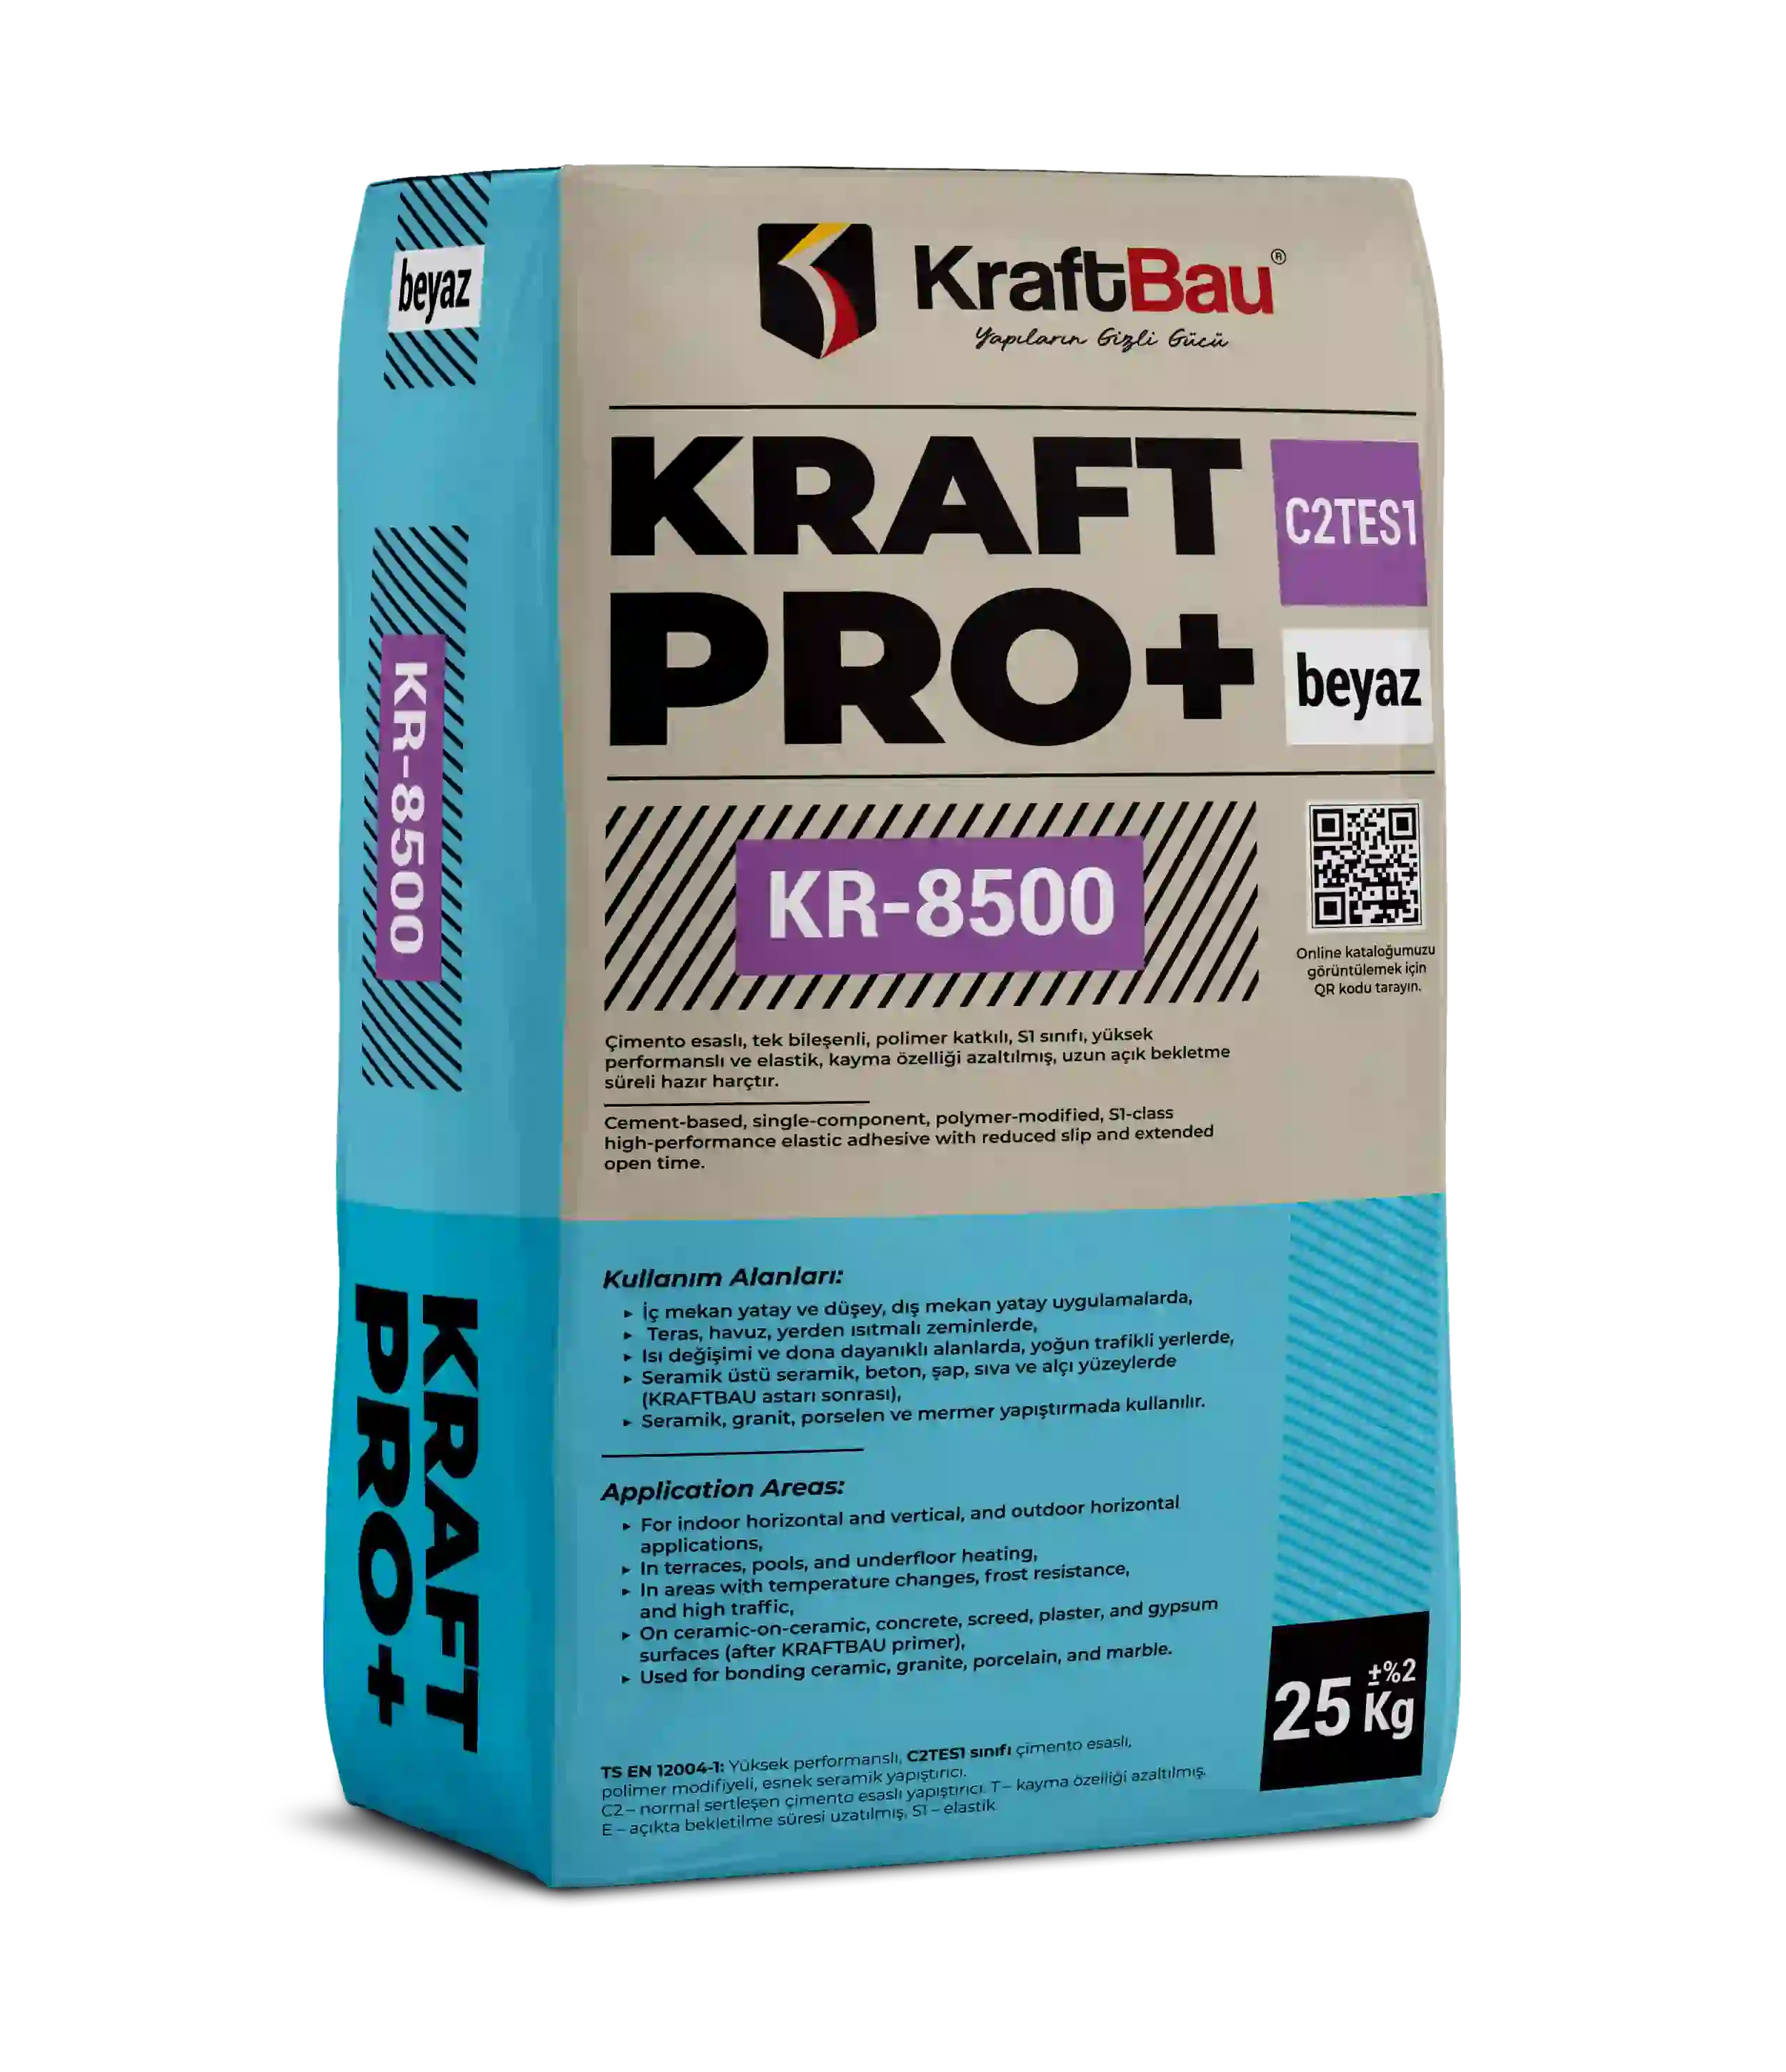
KR-8000 KRAFT PRO+ C2TES1 is used for the main grey system, and KR-8500 KRAFT PRO+ C2TES1 WHITE where white is required. Alternatively, the S1 products KR-805 or KR-809 can be considered according to project conditions. The current technical data sheet is followed exactly for water quantity, mixing, maturing and pot life.
Apply the adhesive double-sided
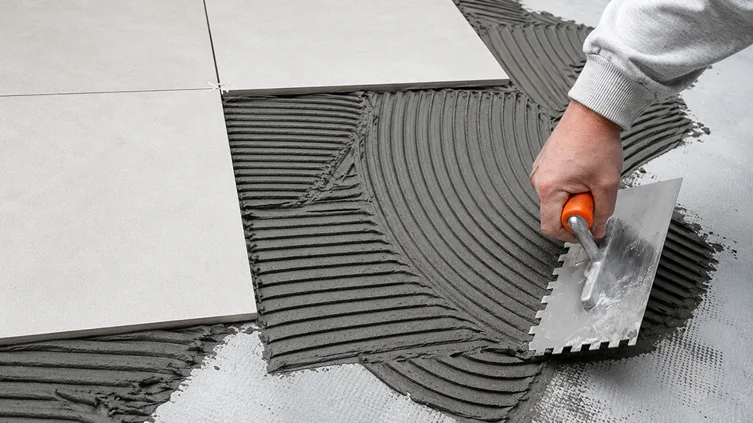
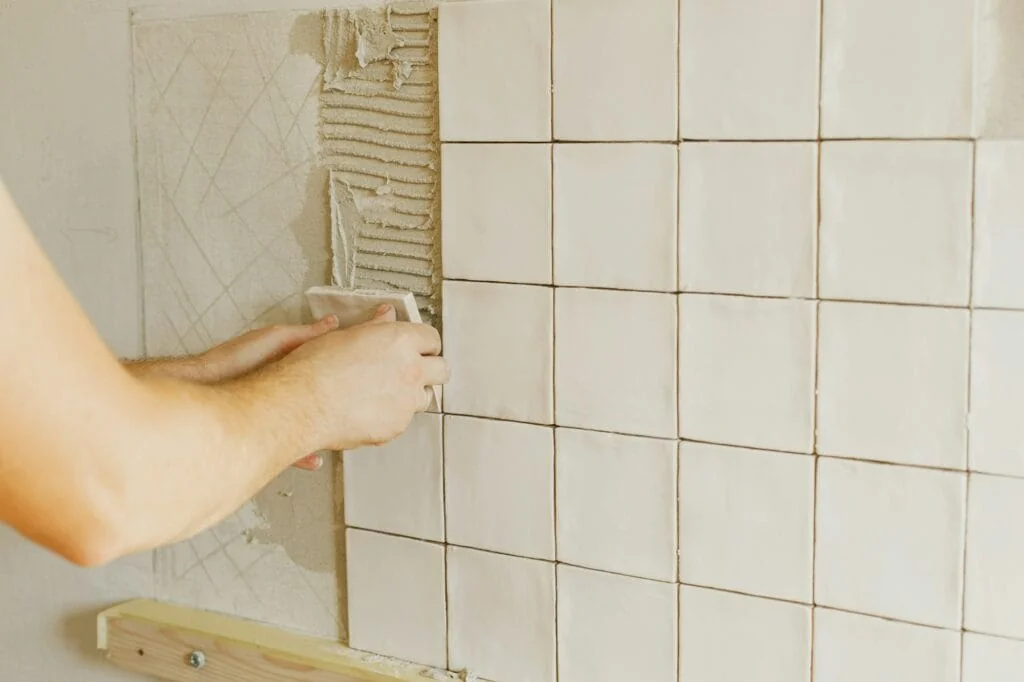
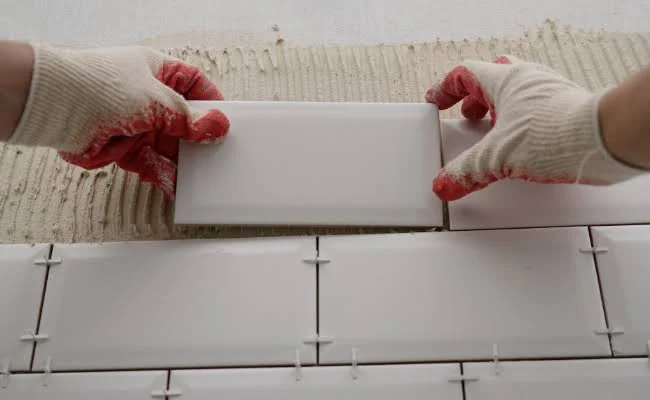
The adhesive is combed onto the substrate in one direction with a suitable notched trowel. A thin, continuous layer of adhesive is also applied to the back of the tile (back-buttering). The tile is placed by pressing it in the direction that closes the trowel ridges. The aim is to achieve uniform contact with no voids on the back face. During application, one of the laid tiles should be lifted to check contact.
Manage levelling and joints
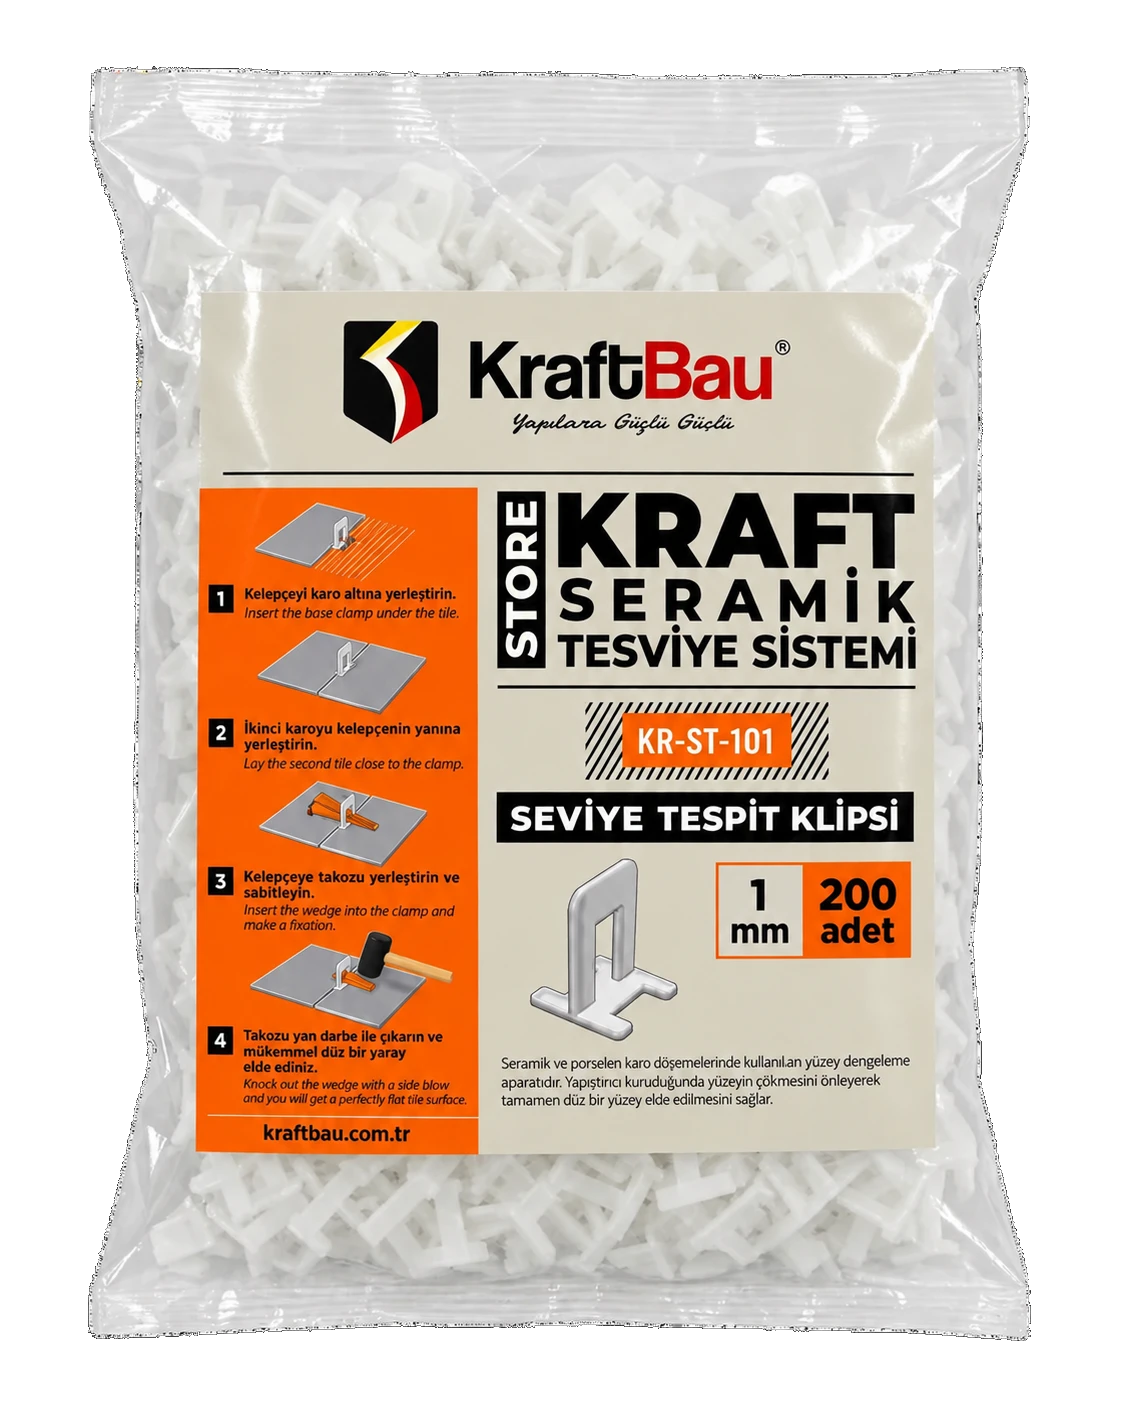
KR-ST-101 or KR-ST-102 clips with KR-ST-300 wedges help control the lippage between adjacent tiles. A levelling system is not a surface-correction product; it does not replace a flat substrate. Movement joints must not be closed, and the project joint plan must be maintained.
Once the adhesive has reached the conditions stated in the technical data sheet, the grout product is chosen: KR-200 for dry indoor areas, KR-250 for wet areas, and KR-300 under technical and high chemical loads.
Common mistakes
Trying to correct an uneven floor with a thick bed of adhesive, applying adhesive to the floor only, placing tiles into mortar that has skinned over, closing movement joints and preparing the product with a water ratio outside the data sheet are mistakes to avoid.
Product recommendations in this content are based on the KraftBau system file. For consumption, mixing ratio, layer thickness and waiting times, refer to the product's current technical data sheet (TDS); for your project conditions, get technical support.